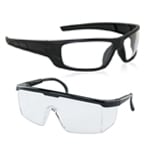
 Safety Glasses
 Nitrile Gloves
 Shop Towels
 Brake Fluid
 Siphon Tool
 One-Person Bleeder Tool
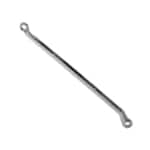 Box Wrench
Before getting started, understand that brake fluid is highly corrosive and should be handled carefully at all times and cleaned up promptly when spilled. Make sure you read the first aid procedures on the bottle before starting the procedure.
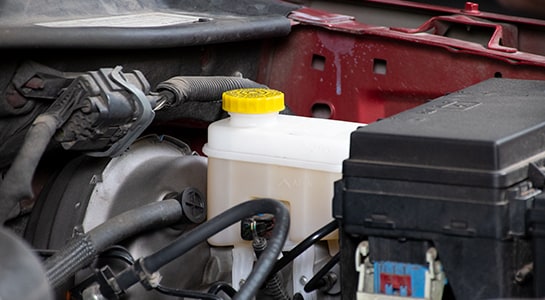
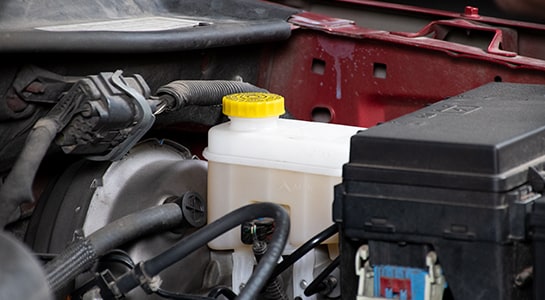
Step 1: Locate Your Master Cylinder and Drain the Reservoir
First you’ll need to determine in what order the lines will be bled. In most cases, it’s recommended you bleed the brake line farthest from the master cylinder first and work back toward it. The position of the ABS system can affect this, so always bleed the lines according to the manufacturer’s specifications for your vehicle. In the case of our Nitro, we’ll go: right rear wheel, left rear wheel, right front wheel, left front wheel.
|
Do It Right: You’ll notice we’re starting with the Nitro raised with the wheels off. For details on how to do this safely, see our video on how to jack up your vehicle. |
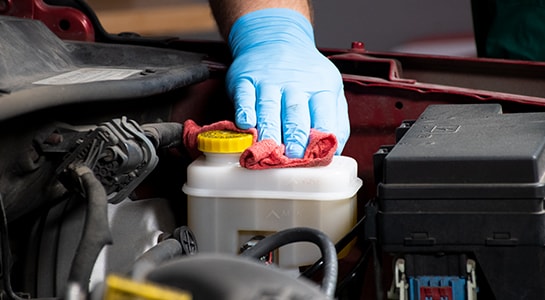
Before you start, use a shop towel to wipe down the master cylinder and cap to keep any contaminants from getting into the master cylinder when you take off the cap.
|
Do It Right: Be sure to clean up any spilled brake fluid immediately as it’s highly corrosive. |
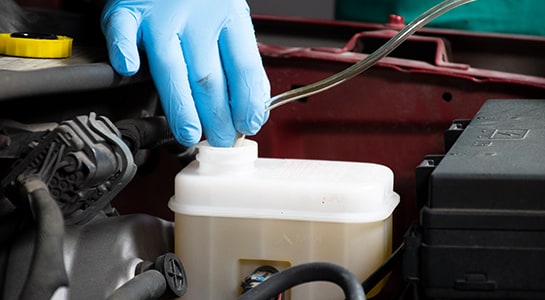
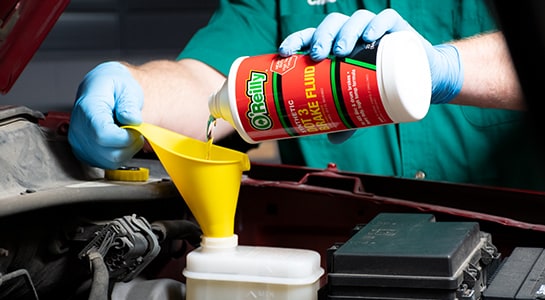
It’s a good idea to siphon most of the old brake fluid from the reservoir, but leave a small amount in the bottom. A simple siphon tool can be used for this.
The old brake fluid will be dark-colored, and the new fluid will be clear.
Starting with new brake fluid in the master cylinder ensures the fluid going from the master cylinder to the caliper or wheel cylinders is new, fresh fluid.
Check your owner’s manual for the recommended fluid-change interval. Brake fluid should be changed regularly. You can use the old, siphoned brake fluid in the bleeding tool bottle.
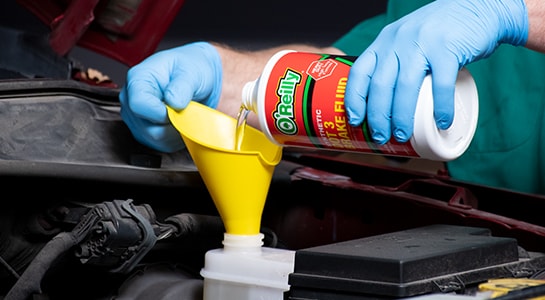
Once you’re done siphoning, top off the master cylinder with new brake fluid.
|
Do It Right: Only use the brake fluid specified by your vehicle’s manufacturer. |
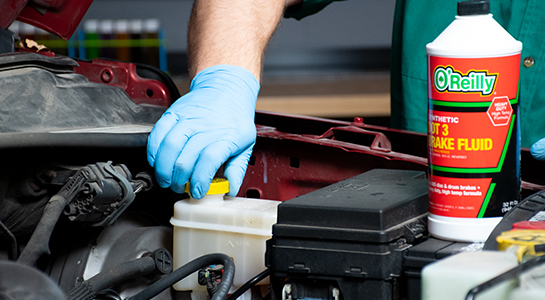
Now, put the cap back on. It’s important to make sure the master cylinder never sucks air or runs dry. Fluid should always cover the holes in the bottom of the reservoir.
Step 2: Begin Bleeding the Brake Lines
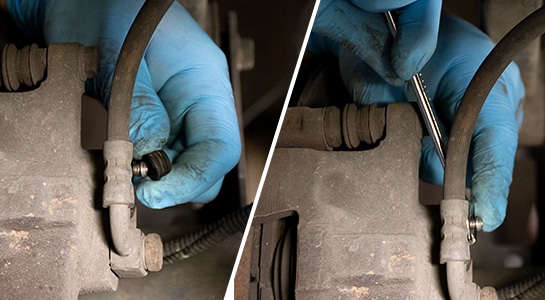
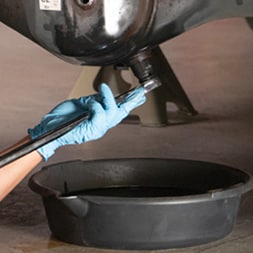
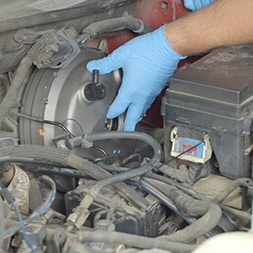
Go to your first bleeder valve and remove the cap and attach your box wrench. Then attach the hose of your bleeder tool. We’ll be using a simple, one-person bleeder tool to demonstrate this process.
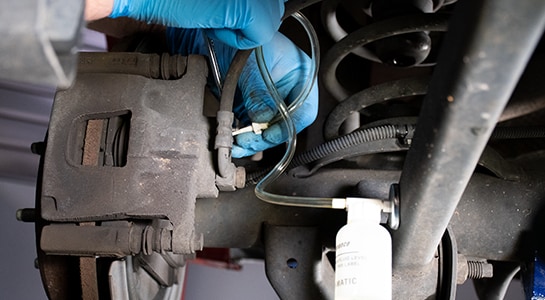
Situate the hose and bottle so that the hose runs above the bleeder valve and down into the bottle, and make sure the end of your hose is submerged in fluid before you open the valve.
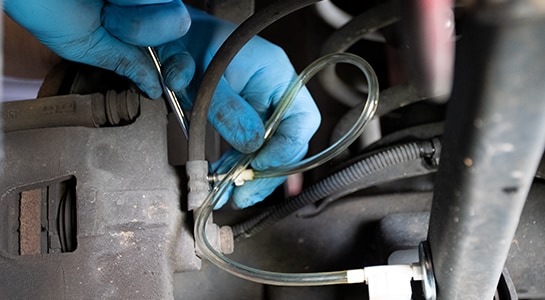
Turn the box wrench to open the valve. You’ll see fluid starting to move into the hose.

Inside the vehicle, push all the way down on your brake pedal with slow, steady pressure. If you have a friend with you, have them apply the brake pedal pressure - and close the valve again before the pedal is released each time.
The bleeder valve must be closed before allowing the brake pedal to lift. Be sure your friend in the vehicle is clear on when to let up on the brake. The brake pedal can be pumped to create pressure, but only before the bleeder valve is open.
The bleeder valve must be closed before allowing the brake pedal to lift. Be sure your friend in the vehicle is clear on when to let up on the brake. The brake pedal can be pumped to create pressure, but only before the bleeder valve is open.
|
Do It Right: Never pump the brake pedal with the bleeder valve open. |

Repeat this several times until there’s no air in your hose and the fluid is looking more like the new fluid from the master cylinder. If you’re doing this by yourself, apply that slow, steady pressure to your brake pedal several times, and check your hose for air and fresh brake fluid.
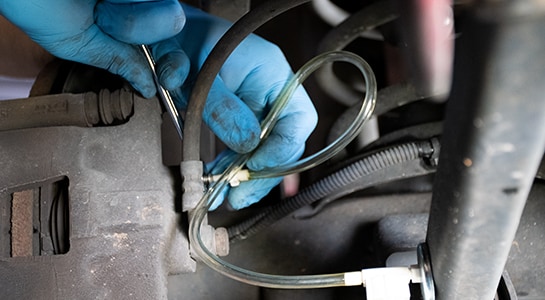
Once there’s no air in the hose and the brake fluid looks clean, close the bleeder valve, and carefully remove the hose, letting the excess fluid run into your bottle.
Step 3: Repeat the Process
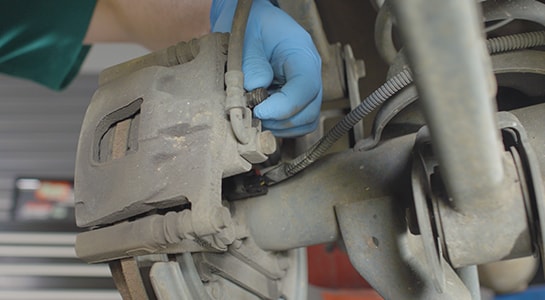
Put the cap back on the bleeder valve, and move to the next one.
|
Do It Right: It’s a good idea to fill the master cylinder reservoir before doing each brake line. During the process of bleeding, be sure to check the fluid level in the master cylinder every few times the brake is pushed in, and continue to add brake fluid as needed. |
Any time you’re not adding brake fluid, leave the cap on the master cylinder. Also, keep an eye on the amount of fluid in your bottle to make sure there’s enough room for each bleed, but enough fluid to keep the end of your hose submerged.
Once you’ve repeated this process at all four brake lines, fill the master cylinder to the max line and tighten the cap.
Rear differential fluid should be changed every thirty thousand to sixty thousand miles. Follow these steps to change it yourself.

The brake master cylinder is what forces hydraulic fluid out to your calipers and wheel cylinders. If you’re noticing a brake pedal that slowly goes all the way to the floor, you could be dealing with a failing master cylinder.
If you’re noticing that it takes extra pressure on your brake pedal to slow down, you might be dealing with a failing booster. Learn how to replace it.