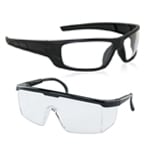
 Safety Glasses
 Gloves
 Scratch/Blemish Remover Polish
 Cotton Terry Towels
 Microfiber Towels
 Foam Applicator Pad
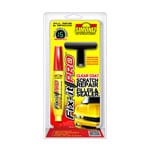 Paint Repair Pen
 Paper/Shop Towel

There will be some variation in the scratch repair products available, so be sure to follow the instructions included with the brands you choose for scratch removal.
If you don’t feel completely comfortable doing this yourself, we can refer you to a professional detailer in your area.


