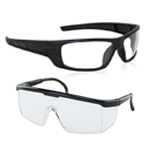
 Safety Glasses
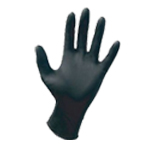 Gloves
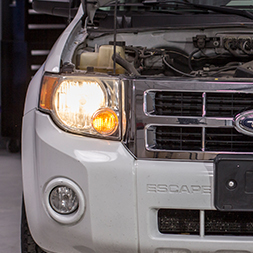
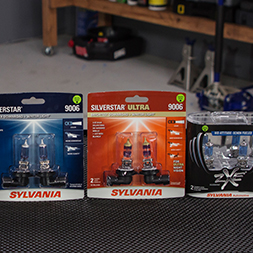
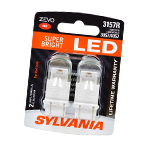 Tail Light Bulbs
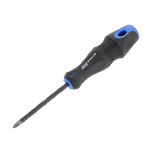 Phillips-Head Screwdriver
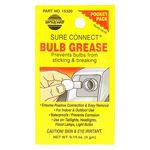 Bulb Grease
Changing your tail light bulbs is an easy form of maintenance that you can perform on your vehicle. Before you begin - or if you have any questions about your specific vehicle - we always recommend taking a look at your service manual.
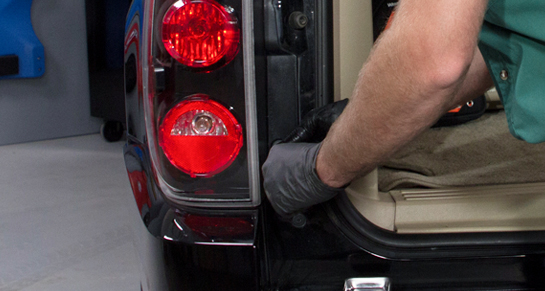
Step 1: Open trunk or tailgate
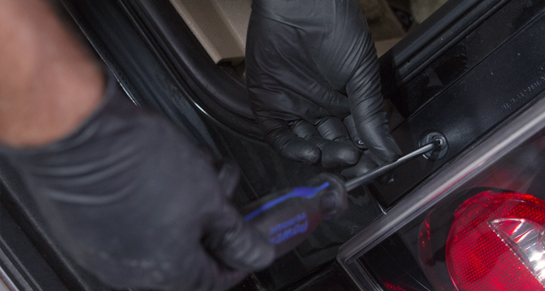
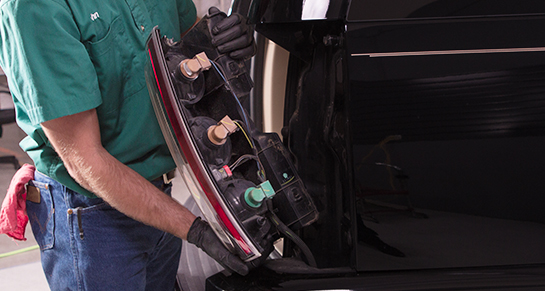
Always wear nitrile gloves when handling bulbs as oils from your skin can damage the bulb and cause it to burn out prematurely. Once you have your replacement bulbs, your nitrile gloves and safety glasses on: open the trunk or the tailgate, move the fabric (or remove panel) and take a look behind the tail light lens. In some cases, you might have to remove the outside assembly. If removing the assembly is necessary, remove the fasteners (screws or bolts) and put them somewhere safe so you don’t lose them.
|
Do It Right: Most pickups will require removing the outside assembly. |
Step 2: Pull tail lamp assembly out (if needed)
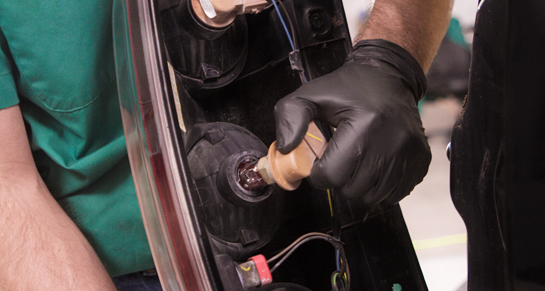
Pull the tail lamp assembly out slowly to disengage it from the vehicle. You’ll see the wires connected to the back of the bulbs. If you’re changing a bulb in a vehicle that does not require you to remove the assembly, this is what you’ll see, only from inside the trunk or hatch.
|
Do It Right: There’s sometimes a small panel that you’ll need to remove to access the inside of the assembly. |
Step 3: Pull bulb out
Turn the bulb socket to the left to release it from the assembly. Then, in most cases, your old bulb will slip straight out of the socket.
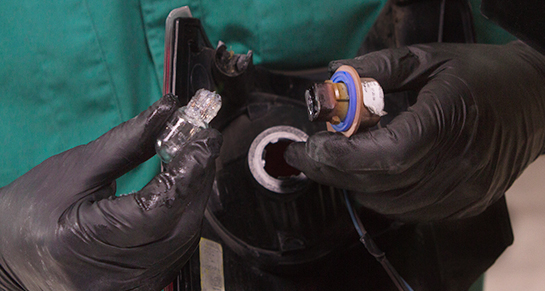
Step 4: Add bulb grease, put new bulb in
Add a little bulb grease, and slide the new bulb into the socket. You may see small nodes that fit into notches in the socket. Once you have your bulb attached, guide it carefully back into the assembly and turn right to secure it.
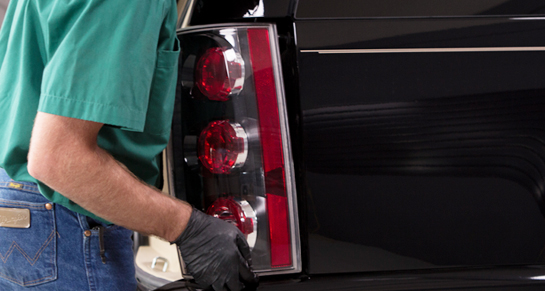
Step 5: Reattach assembly (if needed)
If you had to remove the assembly, reattach it now, making sure it aligns correctly with the vehicle. Tighten the screws or bolts and make sure it’s secure.
Step 6: Repeat on other side
Repeat all steps on the other side of your vehicle, and make sure your tail lights work before cleaning up.
 Wipers
 Automotive Lighting
 Headlight Restoration